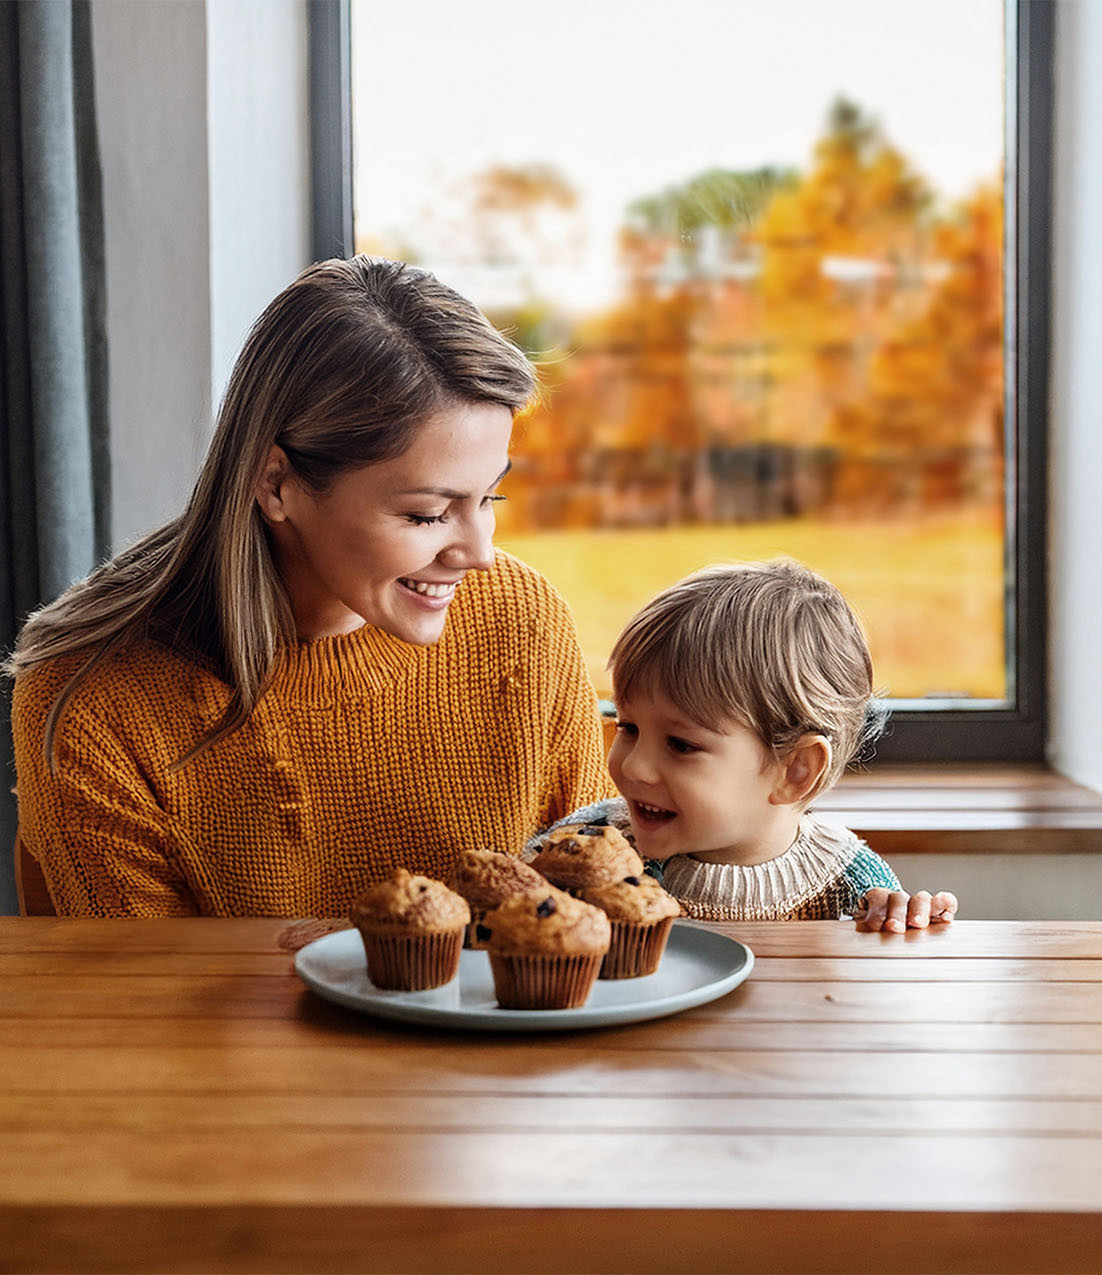
It’s Pumpkin Season!
Rich in Vitamin A (from beta-carotene), pumpkin helps support healthy vision and immune function. It’s also a good source of fiber, which helps with digestion and can help keep you full longer.
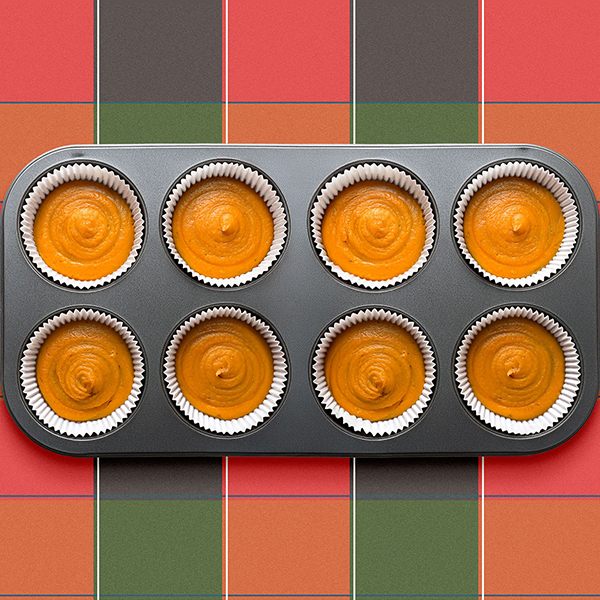
Makes: 8 muffins
Prep Time: 5 minutes
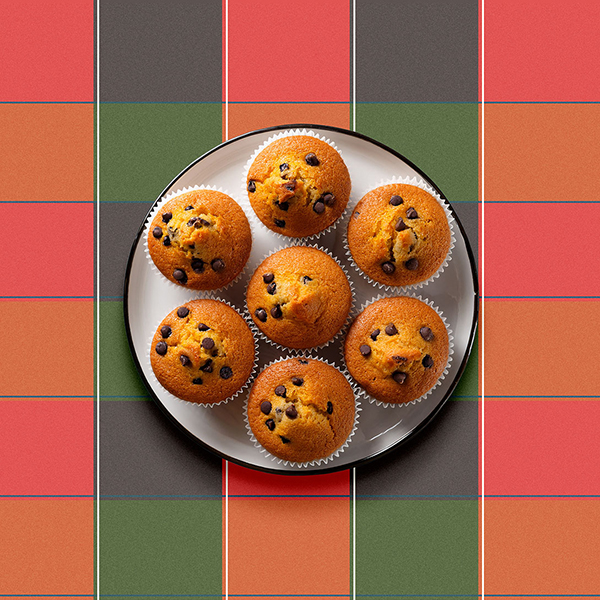
Cook Time: 25 minutes
Total Time: 30 minutes
Prep Time: 5 minutes
Cook Time: 25 minutes
Total Time: 30 minutes
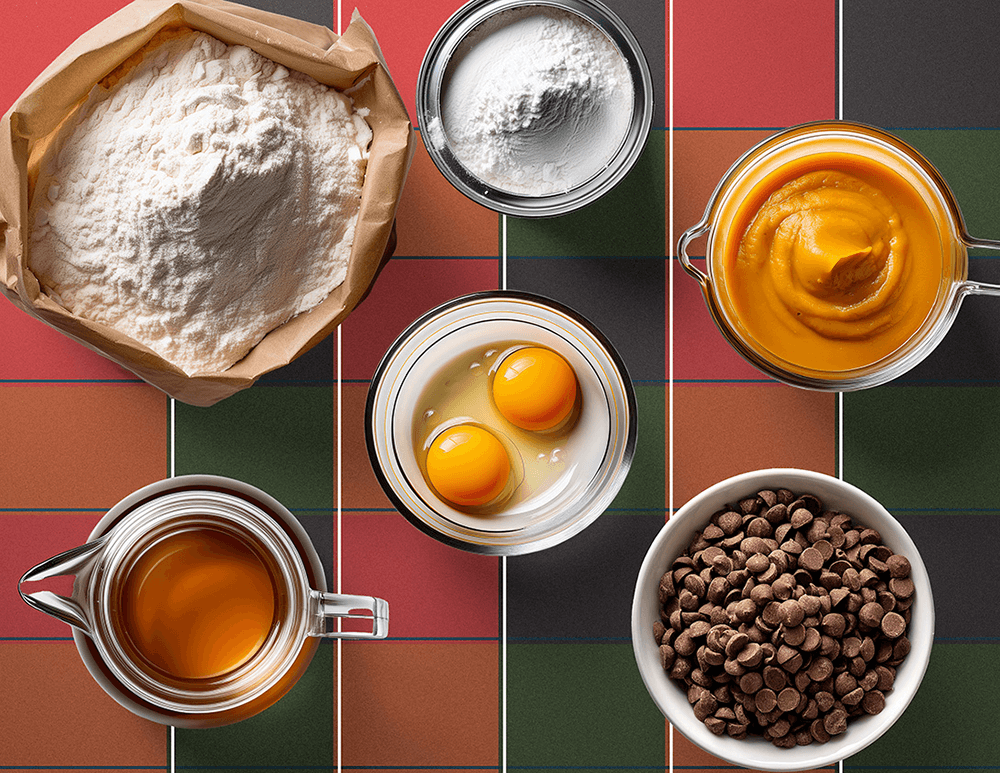
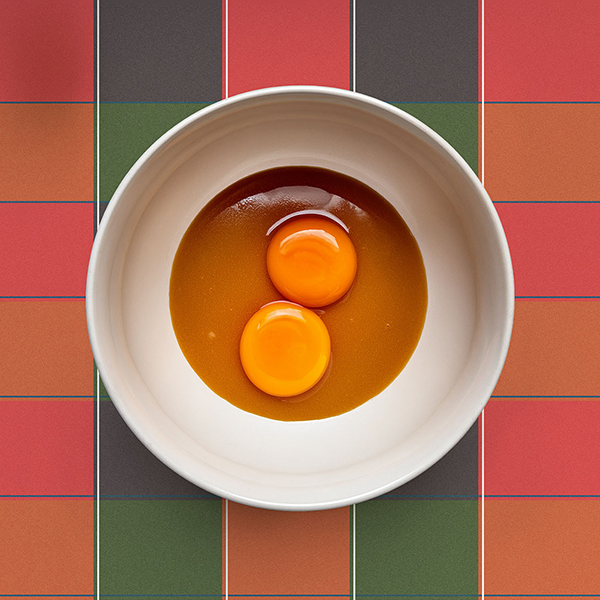
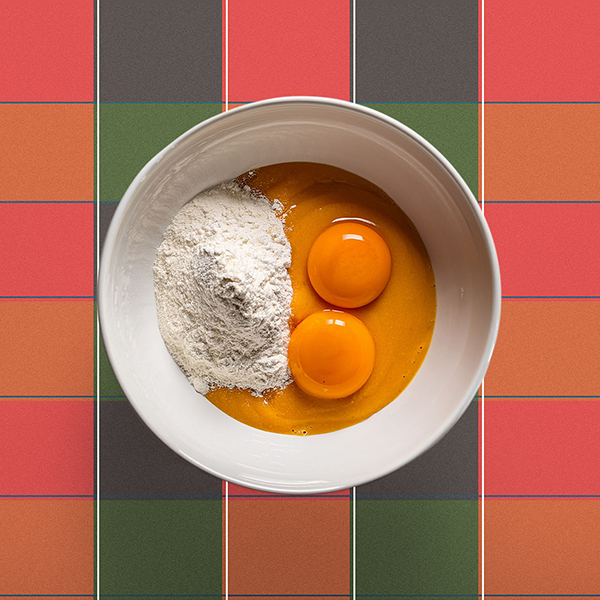
 Ingredients
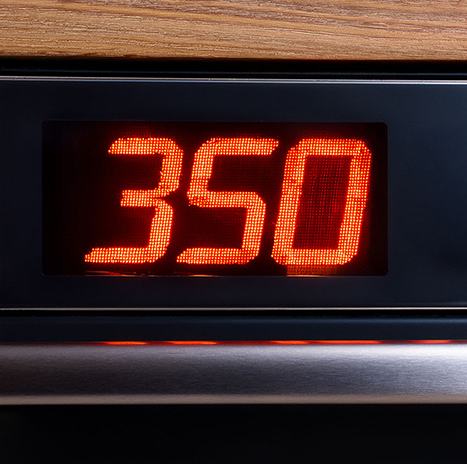

 Nutrition