mom and toddler eating veggie smiling

Quick with WIC: 10 Snacks for Preschoolers in under 10 minutes

July 3, 2024 Children

Plus icon These snack ideas are not only quick and easy to prepare, but also provide a good balance of nutrients to keep little ones satisfied and energized throughout the day. Plus icon

NOTE! Children can choke on any object small enough to enter their airway. This includes nuts, seeds, raisins, whole grapes, raw veggies, and small pieces of food. Snack time, along with any other time your child is eating or drinking, is a time for sitting.
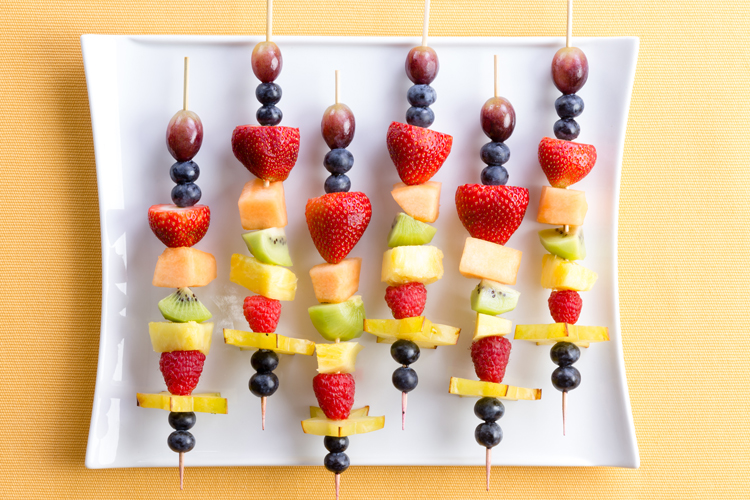
Fruit Kebab

Plus icon Fruit Kabobs Plus icon

Thread small, quartered pieces of WIC-approved fruits (such as grapes, strawberries, pineapple, and melon) onto wooden skewers for a colorful and fun snack.
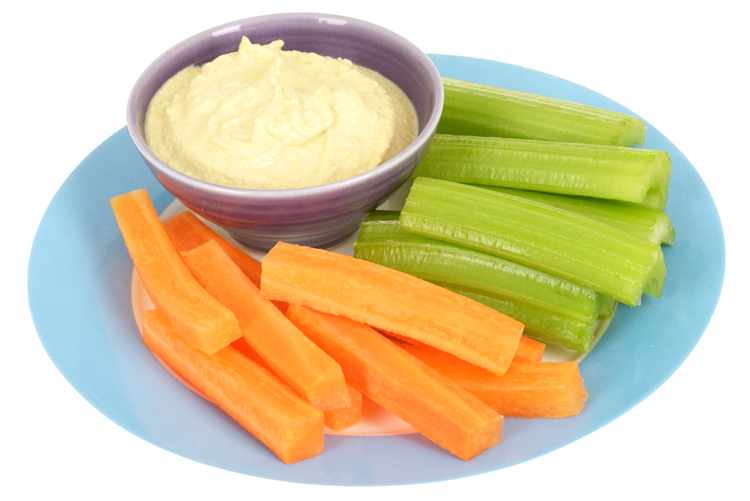
Plus icon Vegetable Sticks with Hummus Plus icon

Serve very thinly sliced, WIC-approved vegetable sticks (such as carrots, cucumbers, and bell peppers) with a side of hummus for dipping.
blue flower
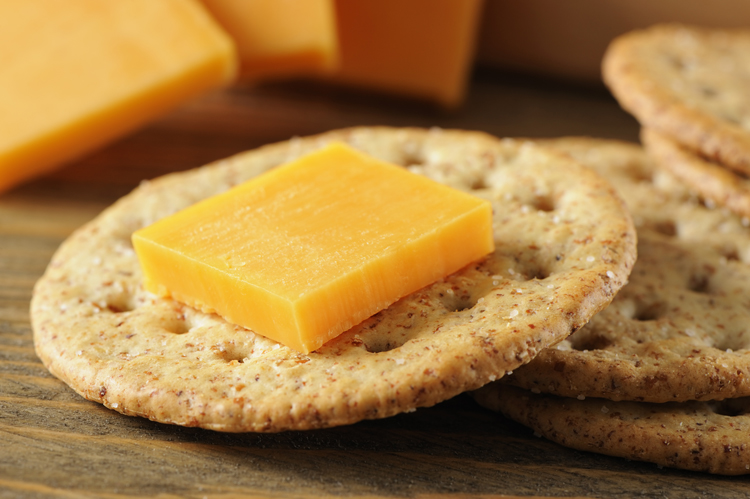
Whole Grain Crackers

Plus icon Whole Grain Crackers with Cheese Plus icon

Offer whole grain crackers with slices of WIC-approved cheese (such as cheddar or mozzarella) for a satisfying and nutritious snack.
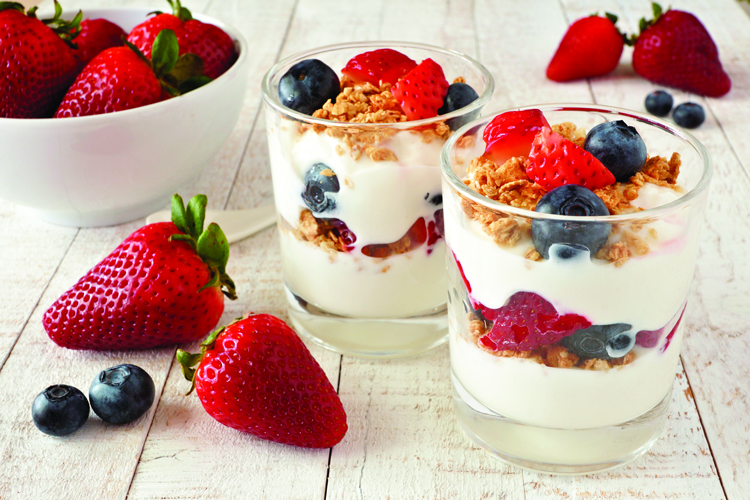
Plus icon Yogurt Parfait Plus icon

Layer WIC-approved yogurt with granola and sliced fruits (such as bananas, berries, or peaches) in a small cup or bowl for a delicious and creamy snack.

Mini Quesadillas
flower

Plus icon Mini Quesadillas Plus icon

Fill small whole wheat tortillas with shredded WIC-approved cheese and beans, then fold and lightly toast in a skillet for a tasty and protein-packed snack. Serve with salsa.
pink-flower
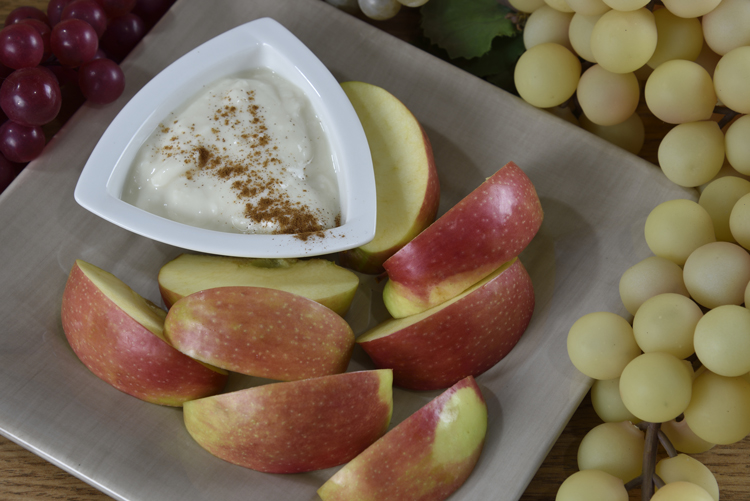
Vanilla Cinnamon Fruit Dip

Plus icon Vanilla Cinnamon Fruit Dip Plus icon

Place 1 cup of WIC-approved vanilla yogurt in a bowl. Mix in 1/8 teaspoon cinnamon (or to taste). Serve with thinly sliced apples for dipping.
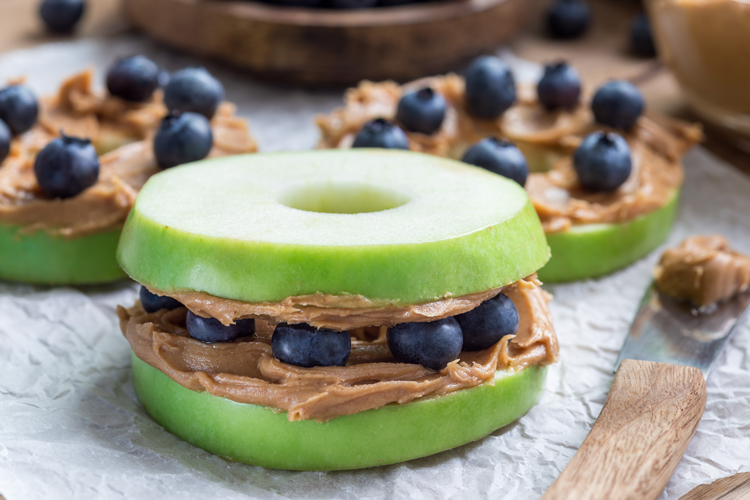
Apple Sandwiches

Plus icon Apple Sandwiches Plus icon

Thinly slice apples horizontally and remove the core. Spread peanut butter or almond butter on one apple slice and sandwich another slice on top. Optional: add granola or blueberries between the slices for extra flavor and crunch.
flower
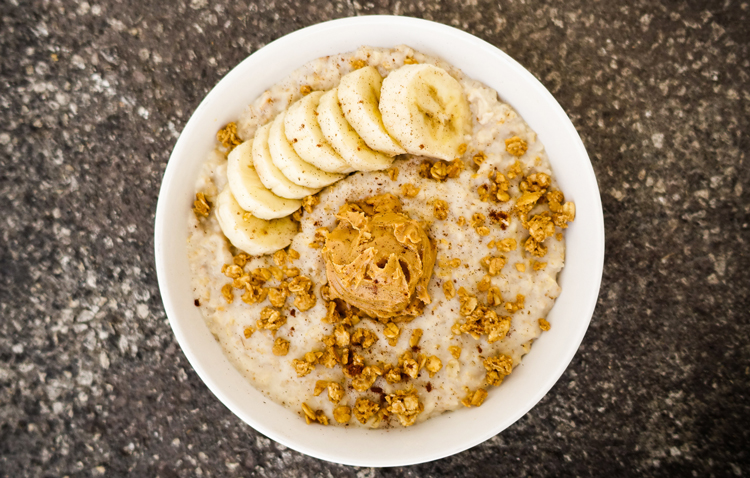
Peanut Butter and Mashed Fruit Oatmeal

Plus icon Peanut Butter & Mashed Fruit Oatmeal Plus icon

Cook oatmeal according to package directions. Stir in a spoonful of peanut butter and mashed fruit (like bananas, blueberries, strawberries, or raspberries). Mix until well combined and serve warm.
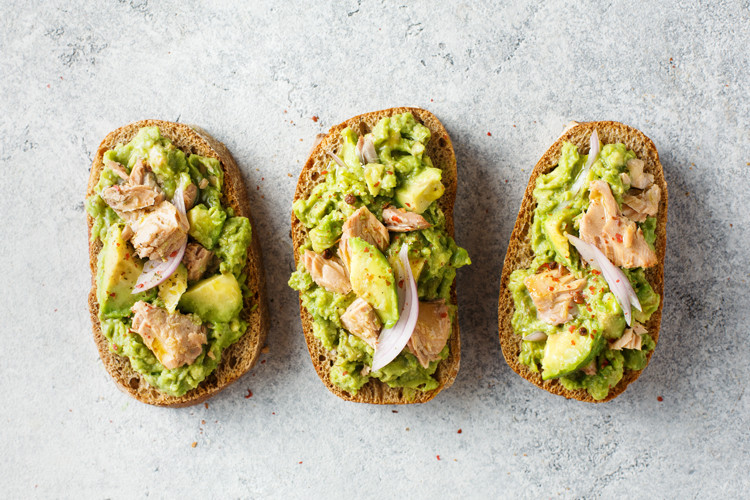
Mashed Avocado and Tuna Toast Bites

Plus icon Mashed Avocado & Tuna Toast Bites Plus icon

Mash an avocado then mix with one can of drained canned tuna. Spread avocado tuna mixture on whole wheat toast, cut into small pieces.
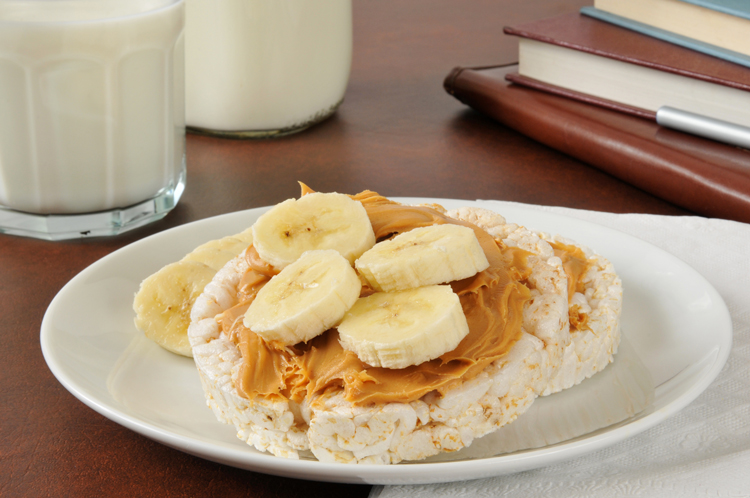
Rice Cake Toppings

Plus icon Rice Cake Toppings Plus icon

Spread rice cakes with toppings such as mashed avocado, peanut butter, or almond butter. Top with thinly sliced or quartered fruits and vegetables for added flavor, texture, and nutrition.
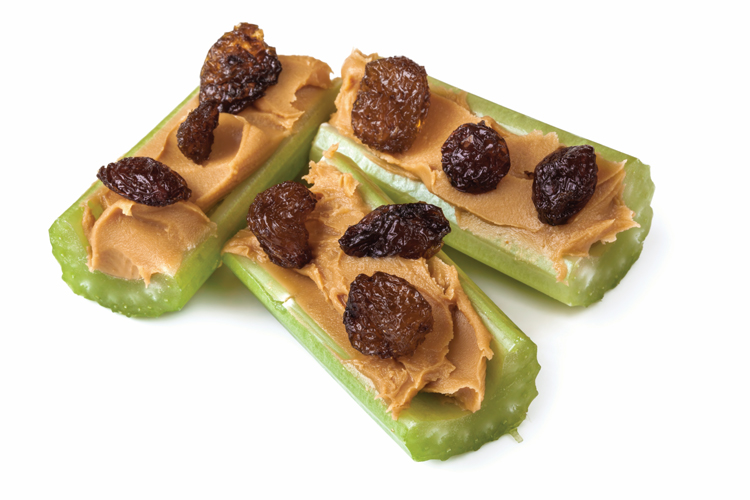
Ants on a Log

Plus icon Ants on a Log Plus icon

Wash celery sticks and cut into halves. Add peanut butter into the pit of each celery stick and spread lengthwise. Push raisins into the peanut butter for the “ants”.

NOTE: young children can choke on big chunks of peanut butter and dried fruit like raisins.

Side-Lying Hold

  1. For the right breast, lie on your right side with your baby facing you.
  2. Pull your baby close. Your baby’s mouth should be level with your nipple.
  3. In this position, you can cradle your baby’s back with your left arm and support yourself with your right arm and/or pillows.
  4. Keep loose clothing and bedding away from your baby.
  5. Reverse for the left breast.

This hold is useful when:

Cross-Cradle Hold

  1. For the right breast, use your left arm to hold your baby’s head at your right breast and baby’s body toward your left side. A pillow across your lap can help support your left arm.
  2. Gently place your left hand behind your baby’s ears and neck, with your thumb and index finger behind each ear and your palm between baby’s shoulder blades. Turn your baby’s body toward yours so your tummies are touching.
  3. Hold your breast as if you are squeezing a sandwich. To protect your back, avoid leaning down to your baby. Instead, bring your baby to you.
  4. As your baby’s mouth opens, push gently with your left palm on baby’s head to help them latch on. Make sure you keep your fingers out of the way.
  5. Reverse for the left breast.

This hold is useful when:

Clutch or “Football” Hold

  1. For the right breast, hold your baby level, facing up, at your right side.
  2. Put your baby’s head near your right nipple and support their back and legs under your right arm.
  3. Hold the base of your baby’s head with your right palm. A pillow underneath your right arm can help support your baby’s weight.
  4. To protect your back, avoid leaning down to your baby. Bring baby to you instead.
  5. Reverse for the left breast.

This hold is useful when:

Cradle Hold

  1. For the right breast, cradle your baby with your right arm. Your baby will be on their left side across your lap, facing you at nipple level.
  2. Your baby’s head will rest on your right forearm with your baby’s back along your inner arm and palm.
  3. Turn your baby’s tummy toward your tummy. Your left hand is free to support your breast, if needed. Pillows can help support your arm and elbow.
  4. To protect your back, avoid leaning down to your baby. Instead, bring your baby to you.
  5. Reverse for the left breast.

This hold is useful when:

Laid-Back Hold

  1. Lean back on a pillow with your baby’s tummy touching yours and their head at breast level. Some moms find that sitting up nearly straight works well. Others prefer to lean back and lie almost flat.
  2. You can place your baby’s cheek near your breast, or you may want to use one hand to hold your breast near your baby. It’s up to you and what you think feels best.
  3. Your baby will naturally find your nipple, latch, and begin to suckle.

This hold is useful when: