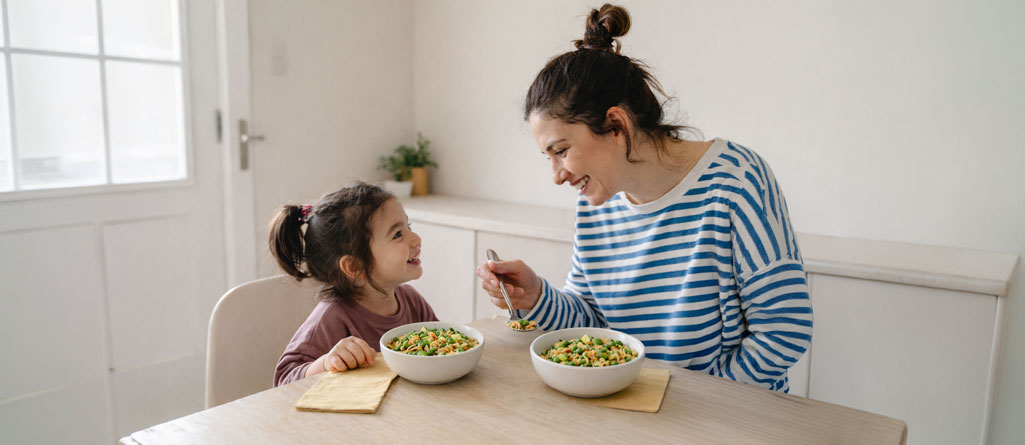
Mother and daughter smiling while eating lunch together

Fresh & Easy Spring Veggie Pasta

April 22, 2026 Recipes

meal plate iconA Simple, Colorful Meal Your Whole Family Can Enjoy

Spring is a great time to add fresh flavors and bright colors to your family’s meals. As the weather warms up, many fruits and vegetables come into season. That means more fresh options, better taste, and often lower cost.

chef hat cooking iconWhy You Should Try It

This Fresh & Easy Spring Veggie Pasta is simple to make, budget-friendly, and packed with nutrients growing bodies need. It’s also a fun way to introduce new vegetables to toddlers and young children.

This recipe is:

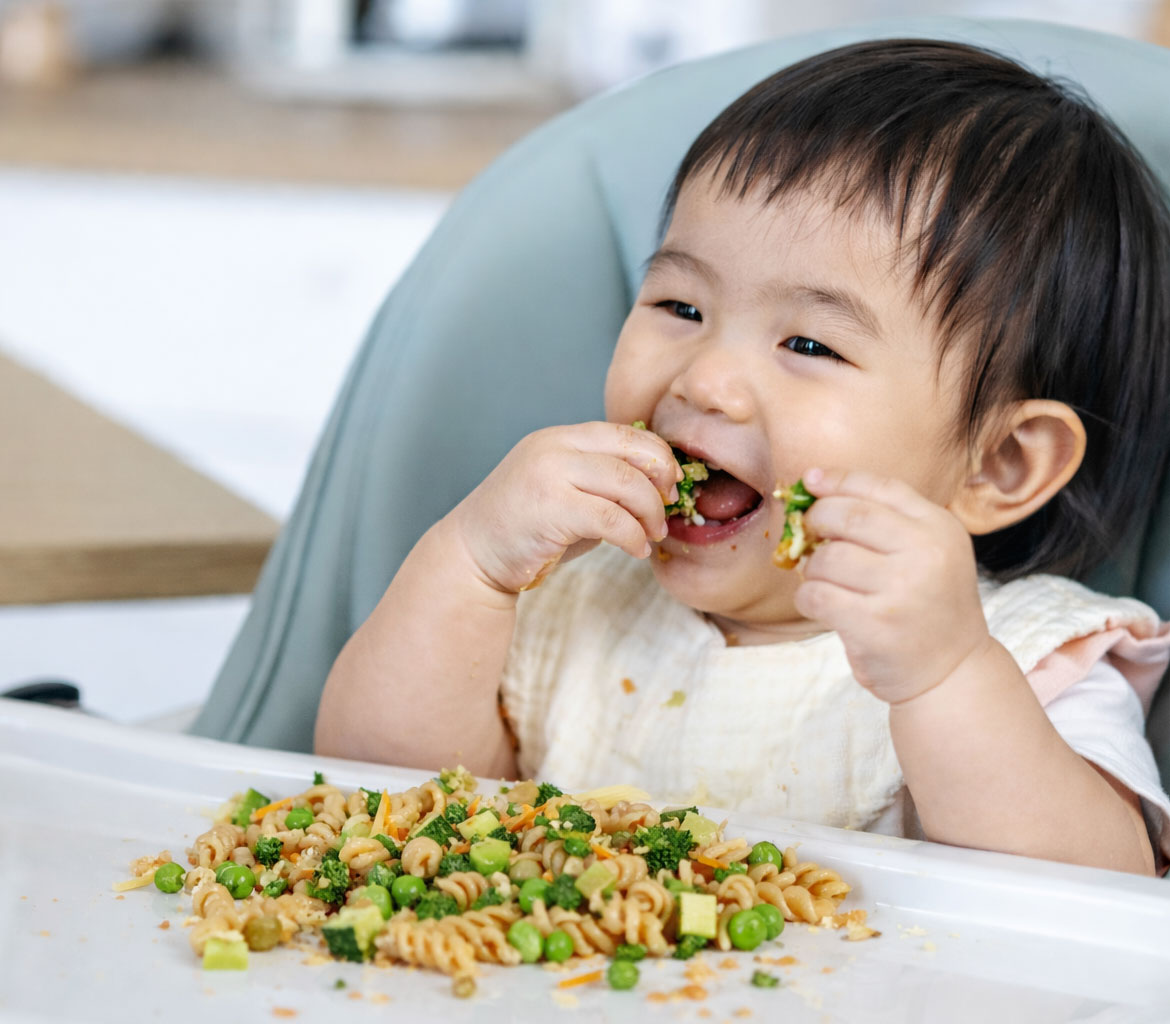
Baby happily eating pasta and vegetables in high chair

IT ALSO OFFERS NUTRITIONAL BENEFITS FOR GROWING KIDS WITH FOODS LIKE:

Peas and broccoli that provide fiber for healthy digestion

Carrots and zucchini to support eye and immune health

Whole wheat pasta to give steady energy

Cheese that adds calcium and protein for strong bones and muscles
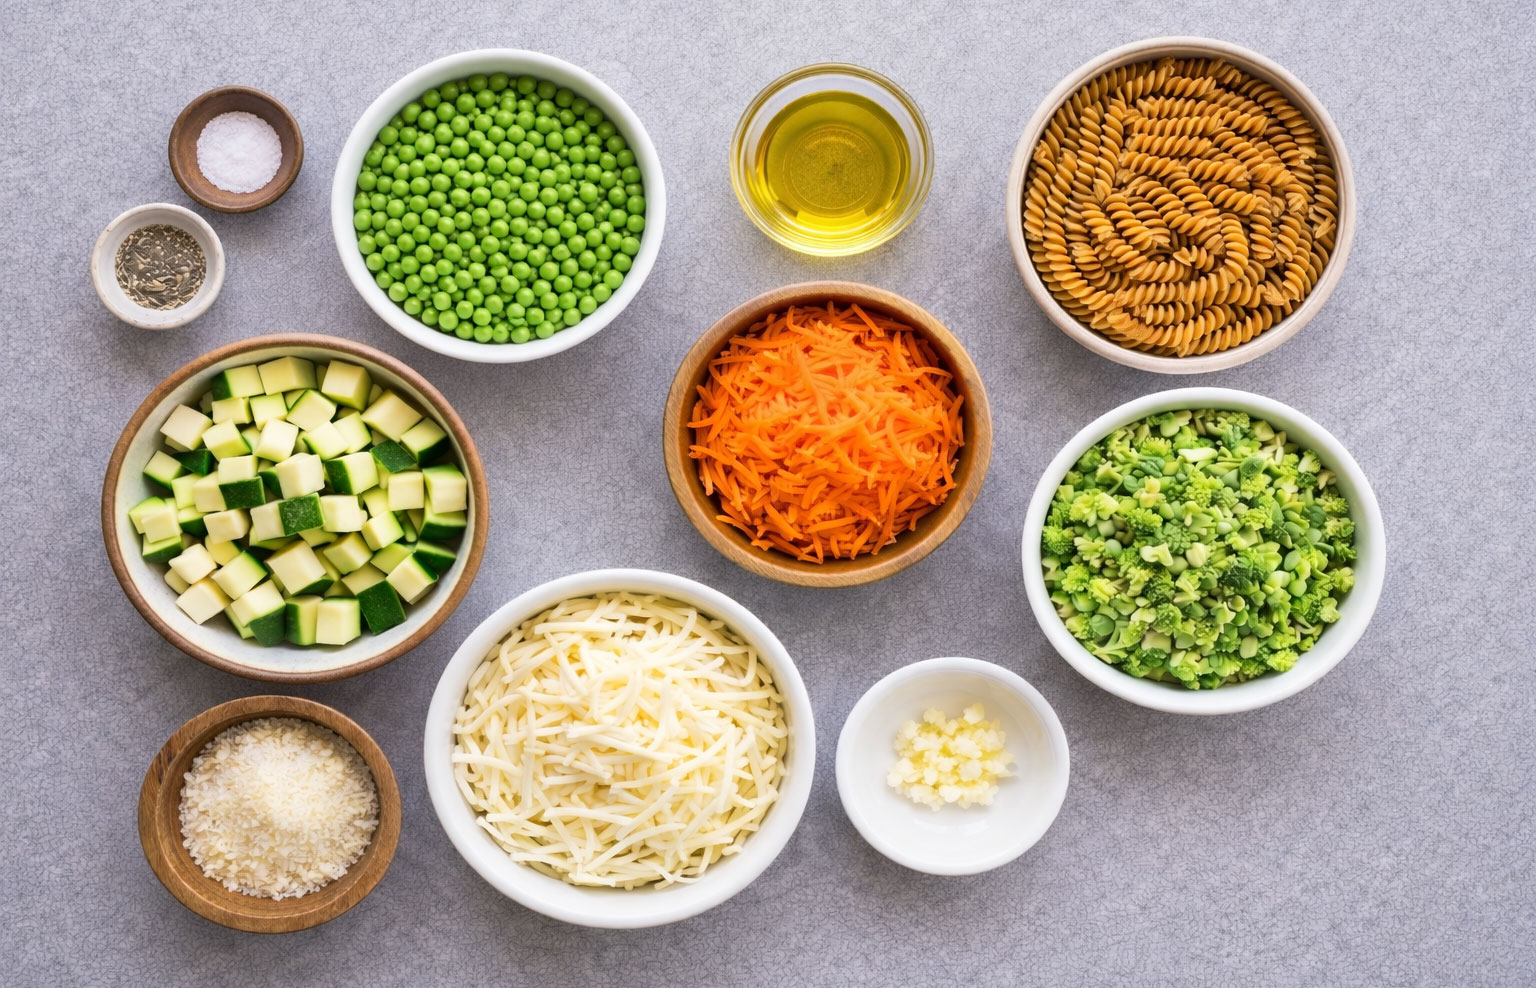
Assorted vegetables and pasta ingredients in separate bowls

Ingredients Icon Ingredients

recipe checklist icon Instructions

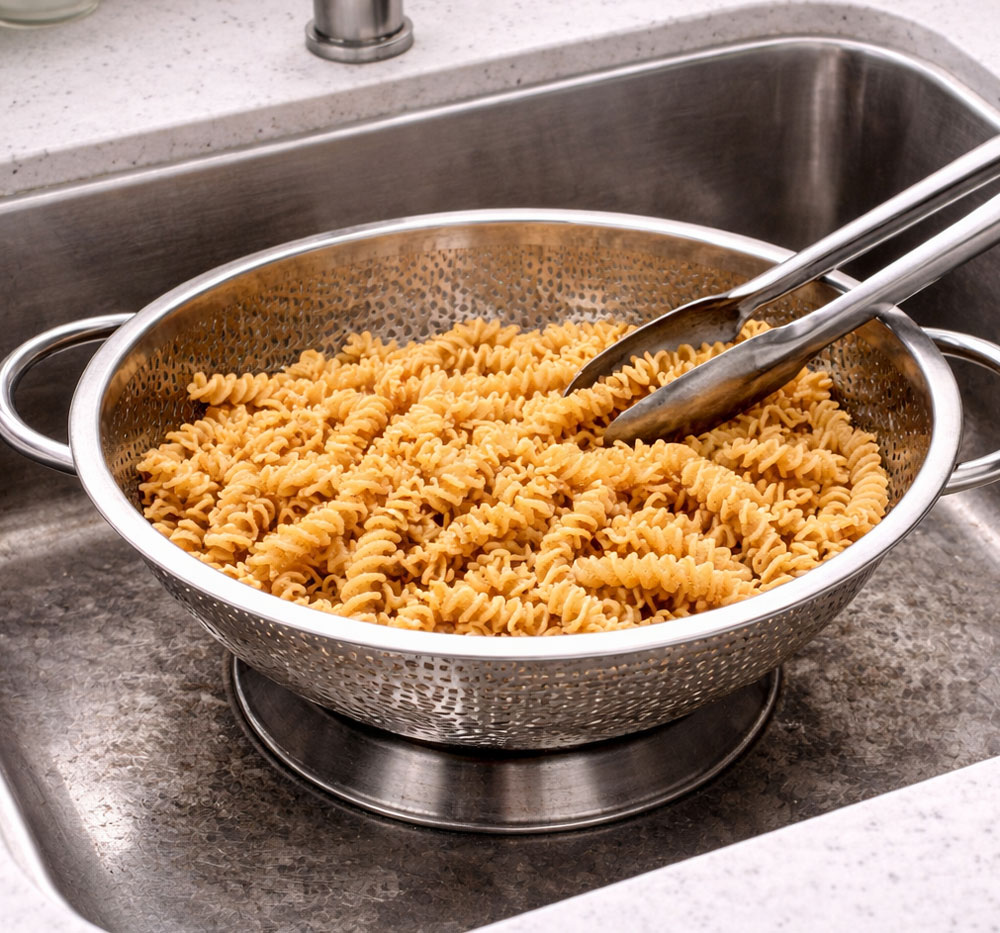
Pasta draining in colander with tongs, kitchen sink
1.

Cook pasta according to package directions. Drain and set aside.
Hand pouring oil into a pan on stove
2.

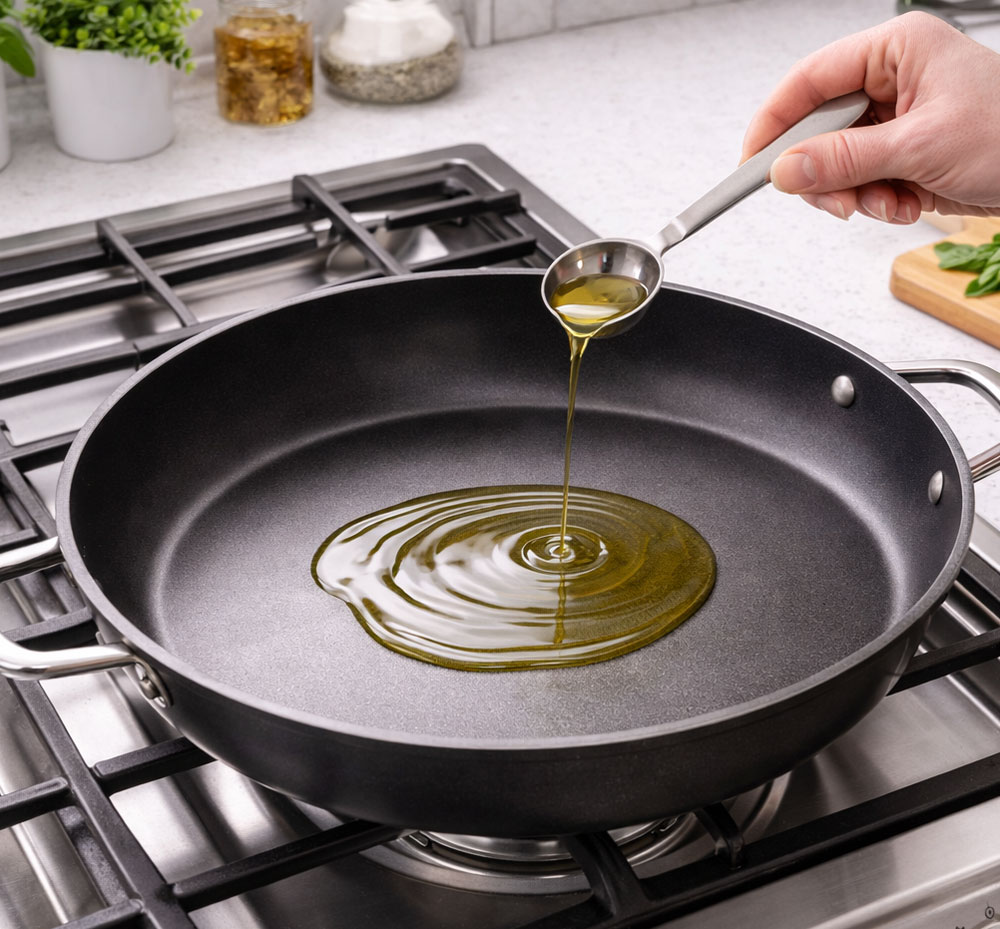
While pasta cooks, heat olive oil in a large pan over medium heat.
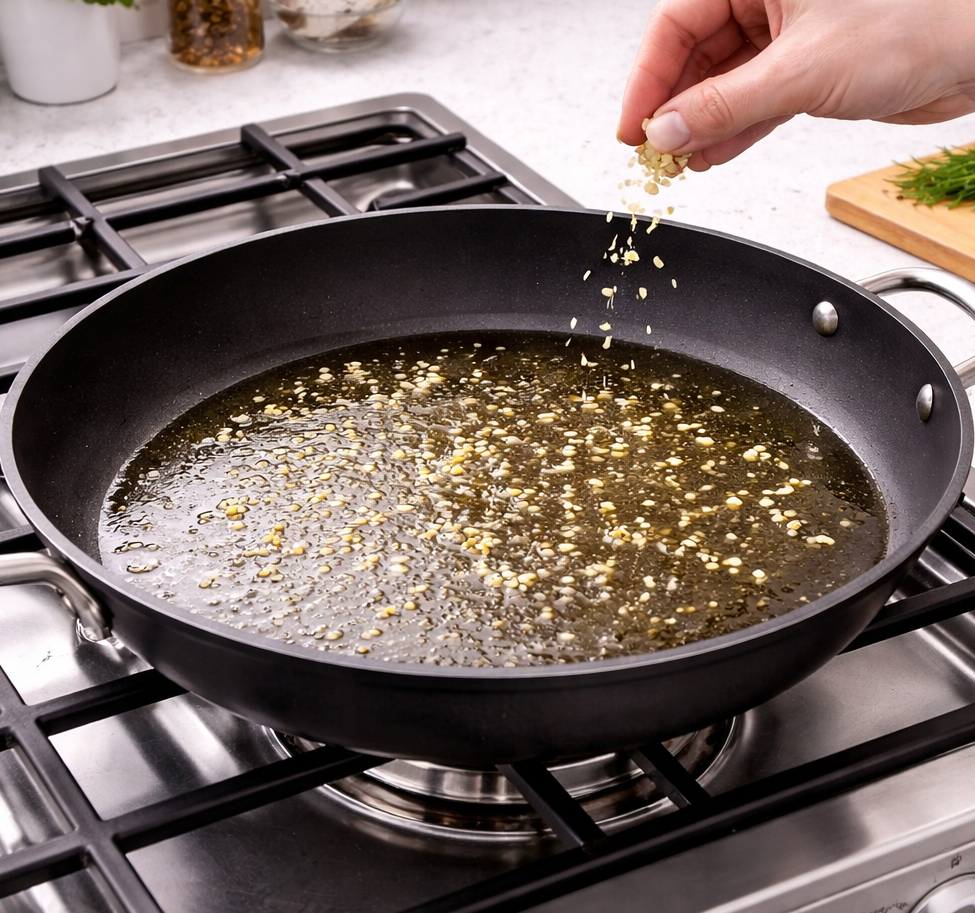
Hand sprinkling seeds into oil-filled frying pan
3.

Add garlic (if using) and cook for 30 seconds.

Broccoli and peas cooking in large pan on stove
4.

Add broccoli, carrots, zucchini, and peas. Cook for 4–6 minutes until tender.
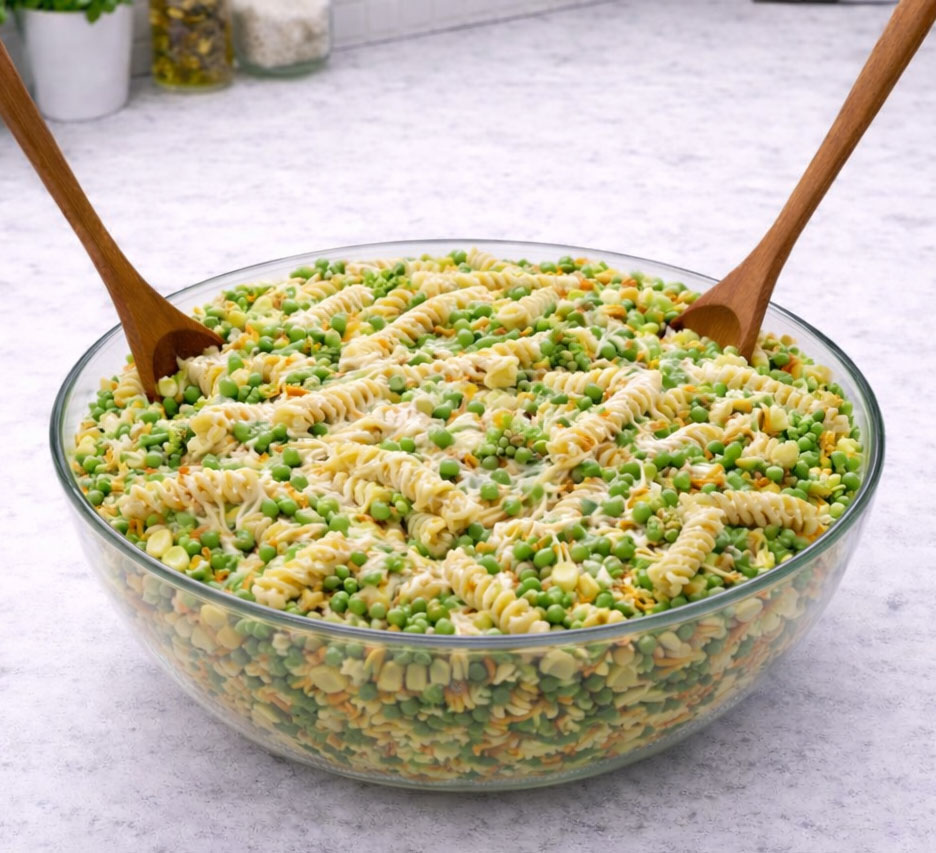
Rotini pasta salad with peas and corn in bowl
5.

Stir the cooked pasta into the vegetables, then sprinkle in mozzarella or mild cheddar cheese and stir until melted.
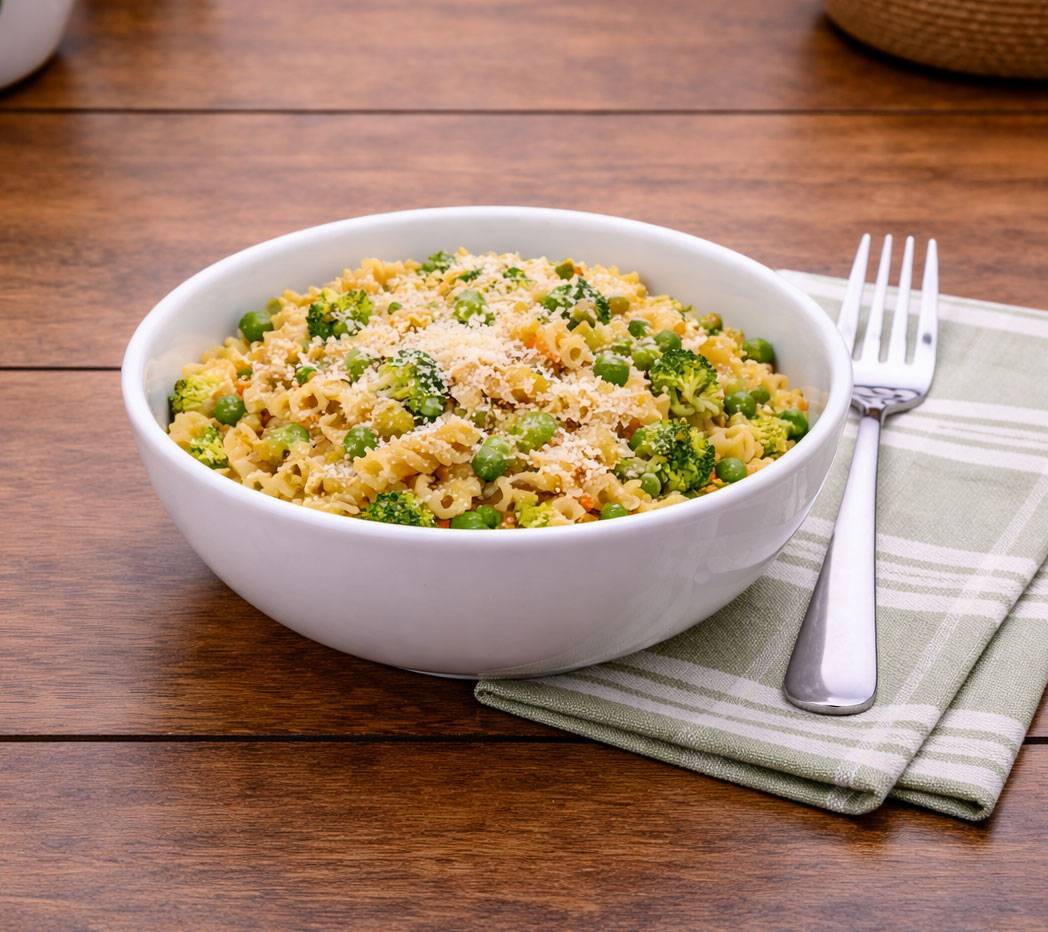
Pasta with broccoli and peas in a white bowl
6.

Let cool slightly, sprinkle Parmesan cheese on top (if desired), then serve.
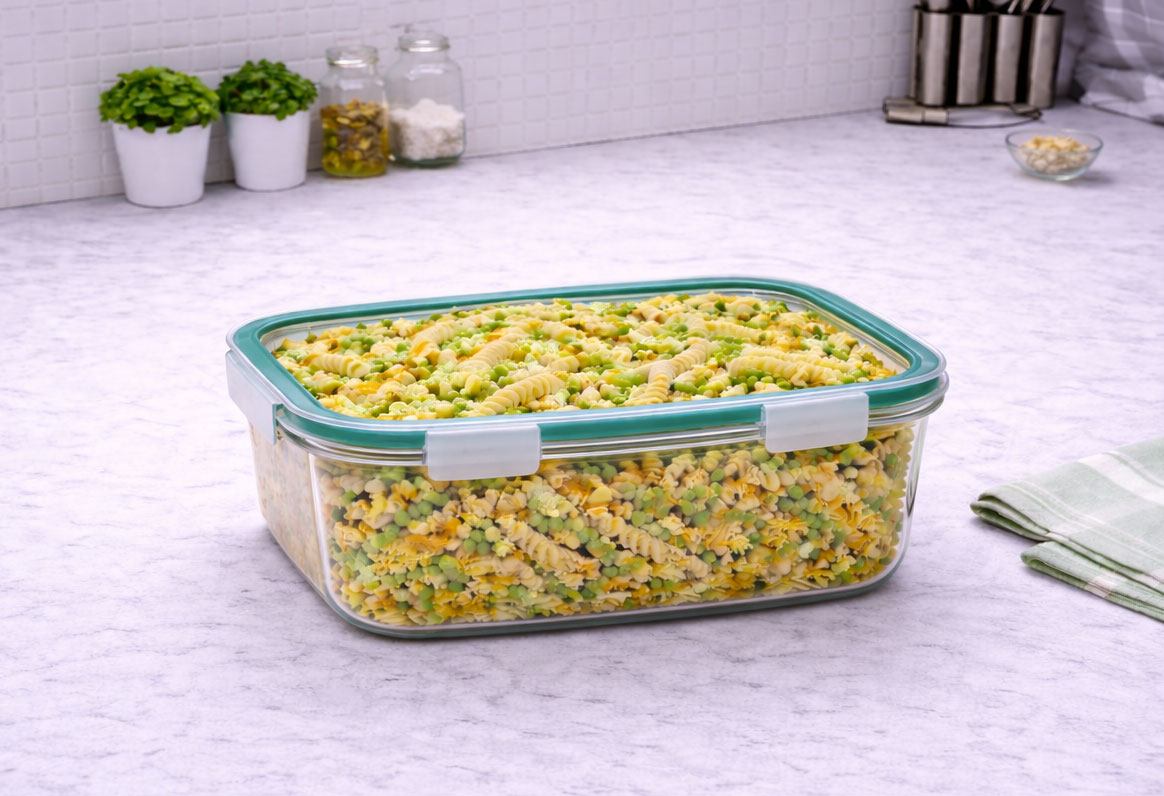
Sealed container of spiral pasta salad on counter

leftover food in container Got Leftovers?

Help keep your family safe and reduce food waste with these quick tips:

baby face icon Make It Kid-Friendly

Keep offering vegetables in a low-pressure way like:

Tip!
It can take 10–15 times for a child to accept a new food.
Child placing broccoli into shopping cart

heart arrow swap icon Simple Swaps

Remember!

Spring is a season of growth and fresh starts, including at the dinner table.

Small steps, like adding colorful vegetables to familiar foods, can help your child build healthy habits that last a lifetime.

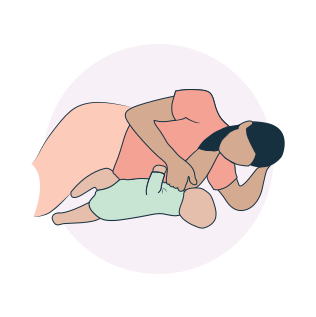
Side-Lying Hold

  1. For the right breast, lie on your right side with your baby facing you.
  2. Pull your baby close. Your baby’s mouth should be level with your nipple.
  3. In this position, you can cradle your baby’s back with your left arm and support yourself with your right arm and/or pillows.
  4. Keep loose clothing and bedding away from your baby.
  5. Reverse for the left breast.

This hold is useful when:

Cross-Cradle Hold

  1. For the right breast, use your left arm to hold your baby’s head at your right breast and baby’s body toward your left side. A pillow across your lap can help support your left arm.
  2. Gently place your left hand behind your baby’s ears and neck, with your thumb and index finger behind each ear and your palm between baby’s shoulder blades. Turn your baby’s body toward yours so your tummies are touching.
  3. Hold your breast as if you are squeezing a sandwich. To protect your back, avoid leaning down to your baby. Instead, bring your baby to you.
  4. As your baby’s mouth opens, push gently with your left palm on baby’s head to help them latch on. Make sure you keep your fingers out of the way.
  5. Reverse for the left breast.

This hold is useful when:

Clutch or “Football” Hold

  1. For the right breast, hold your baby level, facing up, at your right side.
  2. Put your baby’s head near your right nipple and support their back and legs under your right arm.
  3. Hold the base of your baby’s head with your right palm. A pillow underneath your right arm can help support your baby’s weight.
  4. To protect your back, avoid leaning down to your baby. Bring baby to you instead.
  5. Reverse for the left breast.

This hold is useful when:

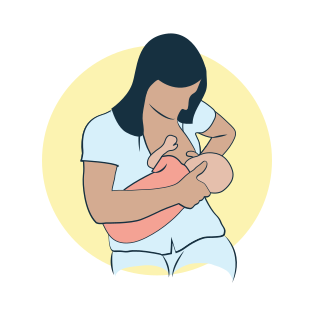
Cradle Hold

  1. For the right breast, cradle your baby with your right arm. Your baby will be on their left side across your lap, facing you at nipple level.
  2. Your baby’s head will rest on your right forearm with your baby’s back along your inner arm and palm.
  3. Turn your baby’s tummy toward your tummy. Your left hand is free to support your breast, if needed. Pillows can help support your arm and elbow.
  4. To protect your back, avoid leaning down to your baby. Instead, bring your baby to you.
  5. Reverse for the left breast.

This hold is useful when:

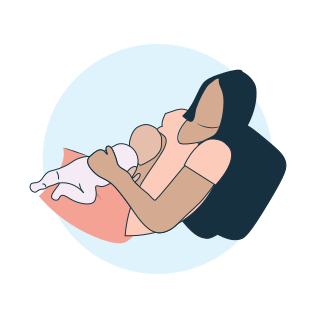
Laid-Back Hold

  1. Lean back on a pillow with your baby’s tummy touching yours and their head at breast level. Some moms find that sitting up nearly straight works well. Others prefer to lean back and lie almost flat.
  2. You can place your baby’s cheek near your breast, or you may want to use one hand to hold your breast near your baby. It’s up to you and what you think feels best.
  3. Your baby will naturally find your nipple, latch, and begin to suckle.

This hold is useful when: